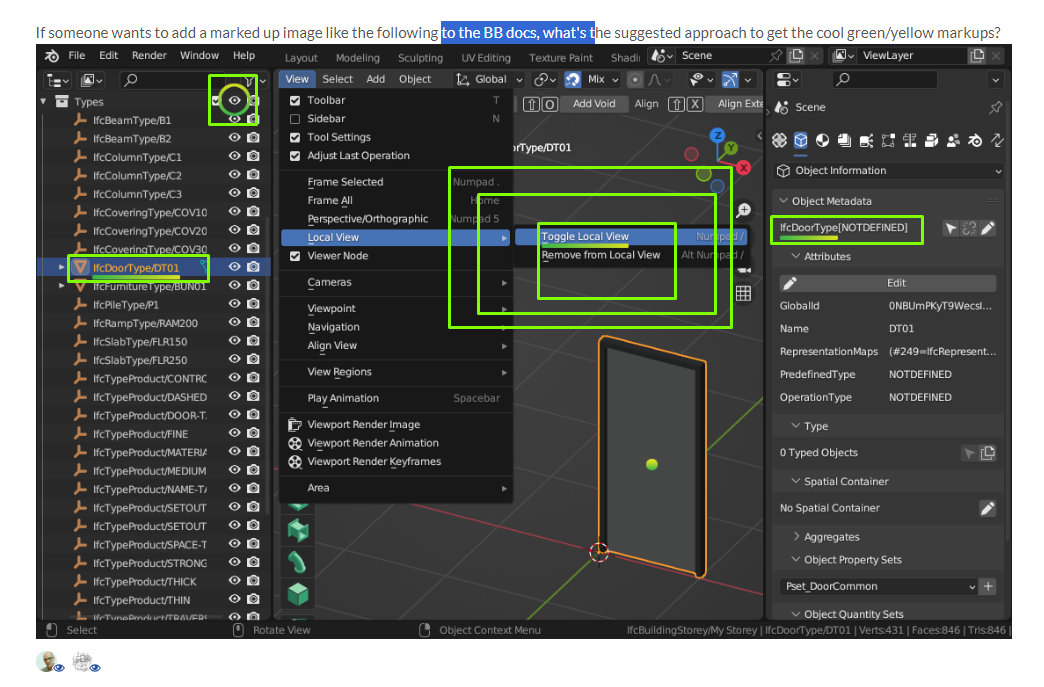
Not sure about the gradient,
But I use lightshot https://app.prntscr.com/en/index.html
and you can set the colours to anything you want so I got a green in this case:
I use a vector program, in my case Affinity Designer. The cropped screenshot as an underlay, markup in a separate layer on top. The naming of the edited image follows a naming convention of general topic -> specific part of the interface shown -> function, like "interface_property-editor_object-information.png".
The current docs have a style guide for the markup, but I refrained from using gradients as I think these are visually distracting.
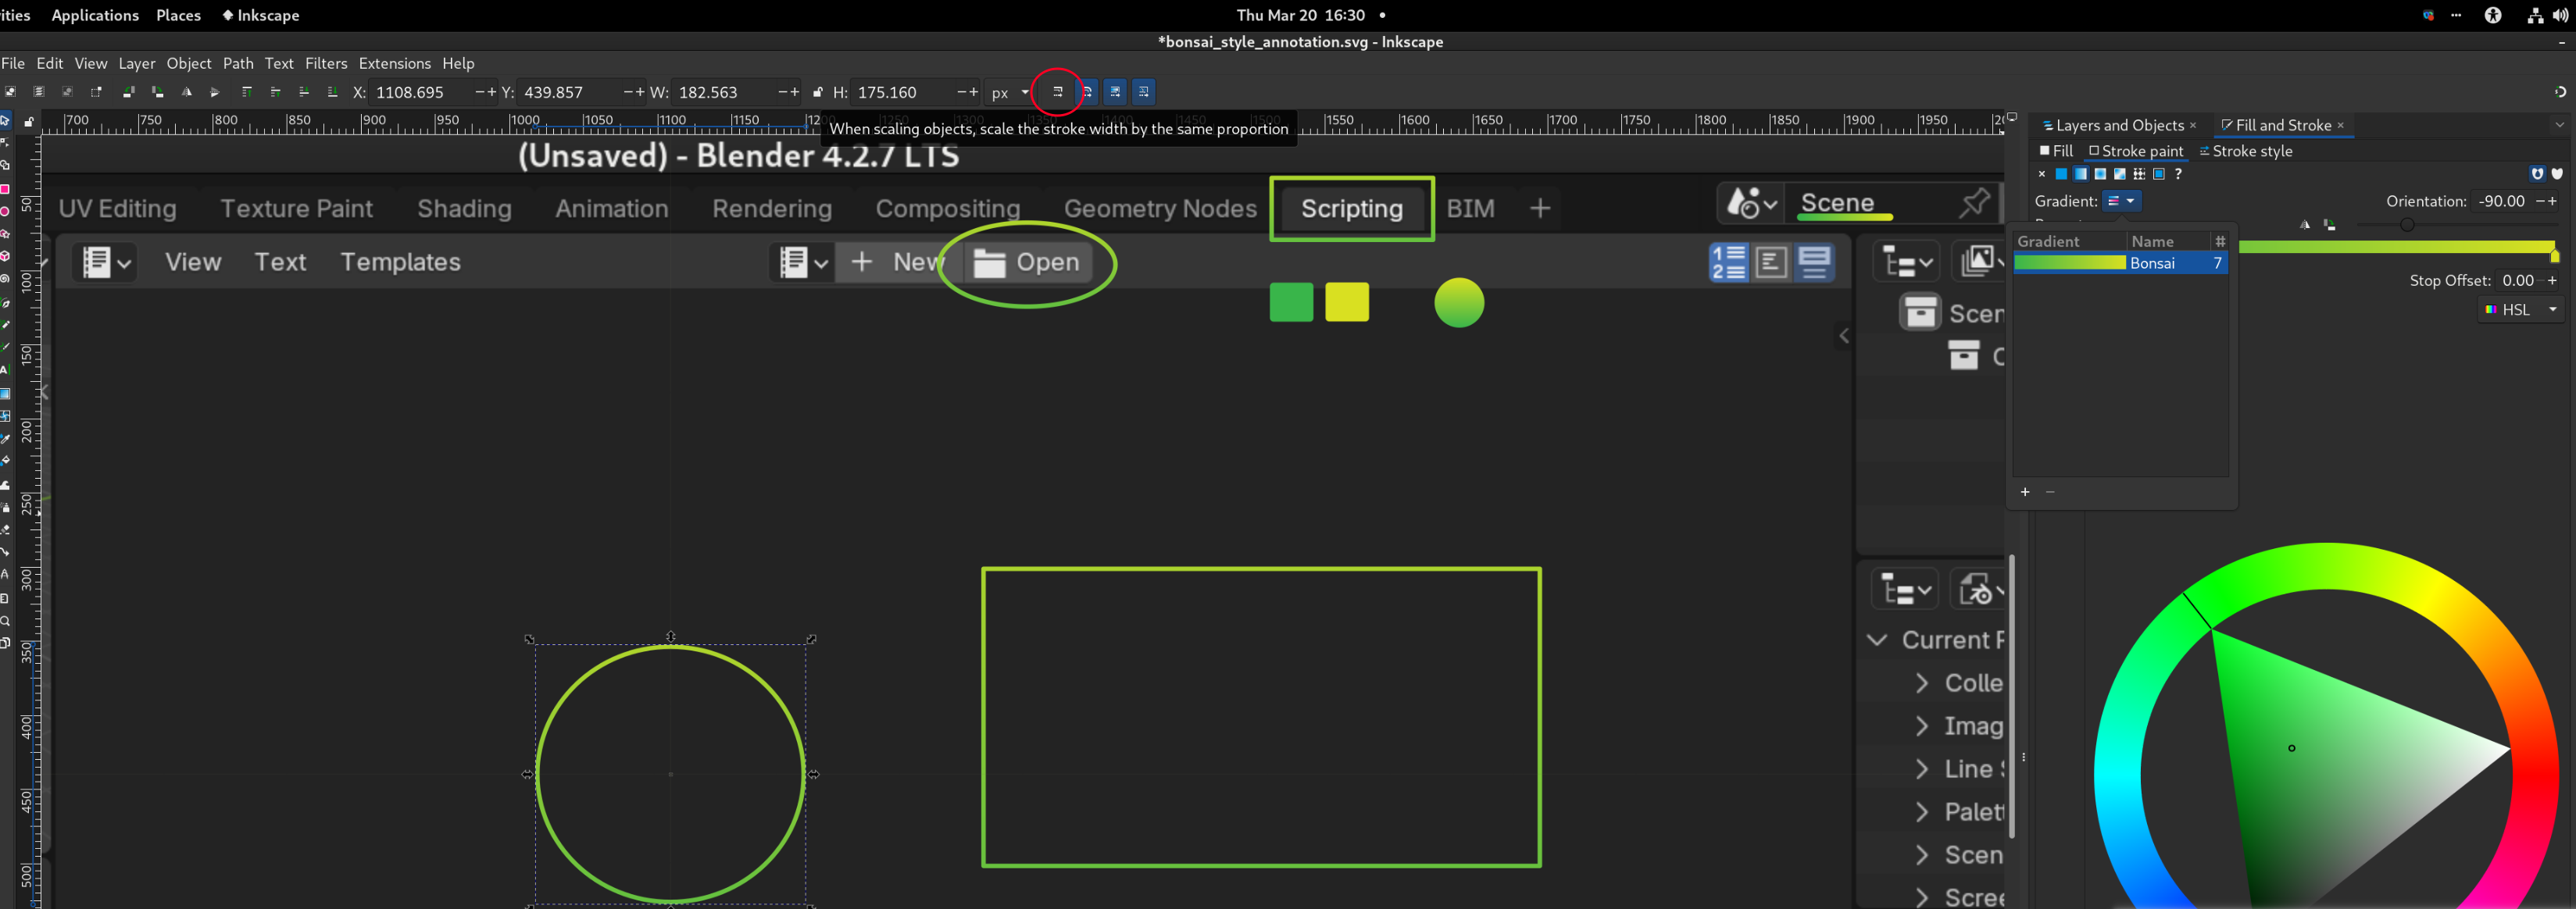
Please find attached a svg file following the Writing documentation guidelines.
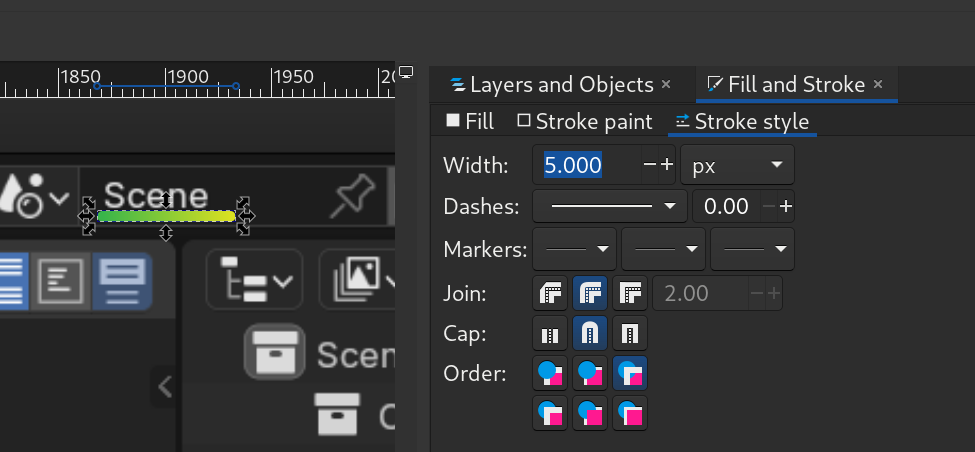
When copying the shapes for your convenience just make sure that you do not have selected the option "When scaling objects, scale the stroke width by the same proportion" to keep the style width right.
Thanks!
Comments
Not sure about the gradient,

But I use lightshot
https://app.prntscr.com/en/index.html
and you can set the colours to anything you want so I got a green in this case:
I use a vector program, in my case Affinity Designer. The cropped screenshot as an underlay, markup in a separate layer on top. The naming of the edited image follows a naming convention of general topic -> specific part of the interface shown -> function, like "interface_property-editor_object-information.png".
The current docs have a style guide for the markup, but I refrained from using gradients as I think these are visually distracting.
In the writing docs section, it gives a sample transparent png you can use to copy paste the circle, dot, and eyedrop the colours.
For the rest I just use the GIMP with a selection of 5px high and turn on border radius and use the gradient tool afterwards.
Please find attached a svg file following the Writing documentation guidelines.


When copying the shapes for your convenience just make sure that you do not have selected the option "When scaling objects, scale the stroke width by the same proportion" to keep the style width right.
Thanks!